
Dark circles can make you look tired even after a full night’s sleep. If you are wondering how to cover dark circles with makeup, the secret lies in using lightweight products and strategic application techniques. Heavy layers of concealer often settle into fine lines, creating a cakey, aged appearance. Instead, a natural finish is achieved by focusing on hydration, color correction, and minimal product placement. This guide breaks down the step-by-step routine to help you hide dark circles effectively while keeping your under-eye area smooth and fresh all day.
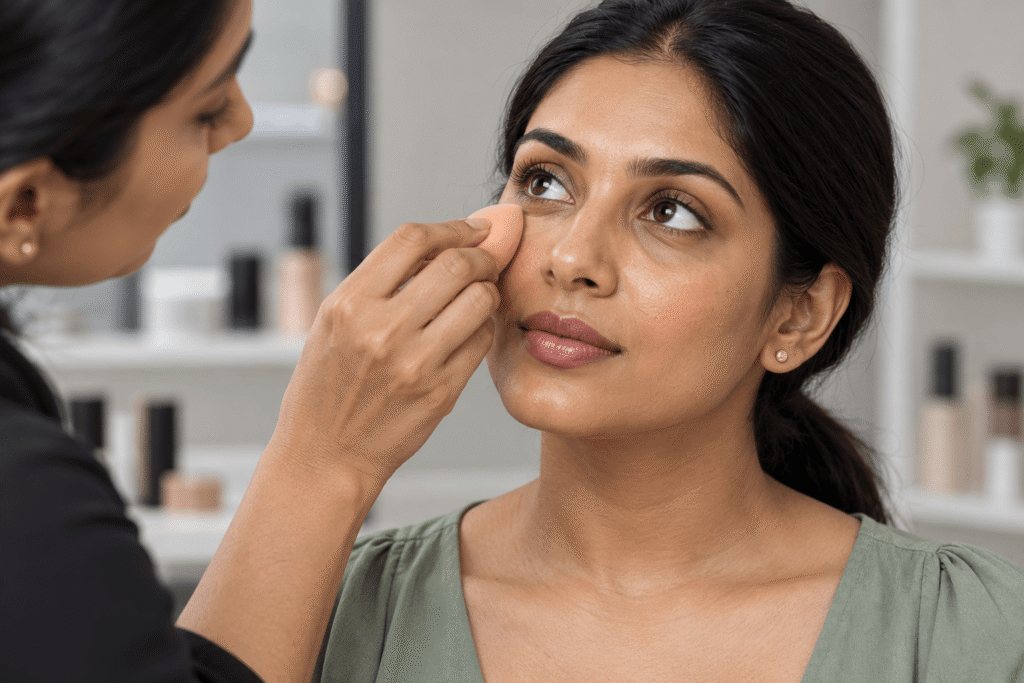
The skin under your eyes is thin and delicate, making it prone to dryness and creasing. Proper preparation is essential for makeup to sit smoothly and last longer.
For deep or pigmented dark circles, concealer alone may not be enough. Color correction neutralizes the unwanted tones before you apply skin-toned makeup. Note that this step is optional; if your dark circles are mild, you may skip directly to concealer.
Choose the Right Corrector:
Choosing the right formula and applying it sparingly is key to learning how to hide dark circles naturally.
A professional makeup artist trick for long-lasting coverage is to let the concealer sit briefly before blending.
How you blend your makeup is just as important as the products you use. Rough handling can stretch the delicate under-eye skin and push product into wrinkles.
Setting your makeup prevents it from shifting, but over-powdering can emphasize texture and dryness. Learning how to stop under-eye concealer from creasing involves a light touch.
Covering dark circles naturally is about balance. By prepping your skin, using color correction wisely, and applying thin layers of concealer, you can achieve a bright, awake look without the risk of creasing. Remember to blend gently and set lightly to maintain a smooth, skin-like finish. Adjust your routine to your skin’s needs instead of relying on heavy layers of powder.
Want to master the art of flawless under-eye coverage? Aarti Gaikwad Makeup Artist offers professional makeup services and personalized tips for clients in Panvel and Navi Mumbai. Whether you are preparing for a special event or want to learn everyday techniques, Aarti can help you choose the right products and methods for your unique skin type. Get in touch to explore makeup services or book a consultation today.
Why does my concealer crease under my eyes?
Creasing often happens due to dry skin, using too much product, or applying makeup over unabsorbed skincare. Using lightweight layers and setting lightly can prevent this.
Should I moisturize before applying concealer?
Yes. A lightweight, hydrated base helps concealer blend smoothly. Just ensure it has fully absorbed to prevent sliding.
What is the best concealer for dark circles?
Look for a concealer that offers the coverage you need without feeling too heavy on the under-eye area. Choose a shade that blends naturally with your complexion, and consider a colour corrector if your dark circles have pronounced blue, purple, or brown tones.
How do I set under-eye concealer without looking cakey?
Allow your concealer to settle into the skin, then gently smooth out any creases before setting. Apply a small amount of finely milled translucent powder with a soft brush or puff. Avoid excessive powder, especially if your under-eye area is dry or textured.
Can I cover dark circles without a color corrector?
Yes, if your dark circles are mild. For deeper pigmentation, color corrector helps neutralize the tone, allowing you to use less concealer for a more natural finish.
How often should I touch up under-eye makeup?
Touch up only if necessary. Blot any oil gently before adding a tiny amount of powder. Over-touching can lead to product buildup and creasing.
What causes dark circles?
Dark circles can have several causes, including genetics, pigmentation, facial structure, allergies, and visible blood vessels beneath the thin under-eye skin. Lack of sleep may make them more noticeable. Makeup can reduce their appearance, but the most suitable approach depends on the underlying cause.
Is it better to use a brush or sponge for under-eye concealer?
A damp beauty sponge is often preferred for a natural, dewy finish as it presses product into the skin without dragging. A small synthetic brush can offer more precision for spot correction.

Elevating natural beauty through 15+ years of master bridal artistry and elite professional education in Panvel, Navi Mumbai.
Project Managed & SEO by DigiTeach | Website Managed by Web Creators India